Overview
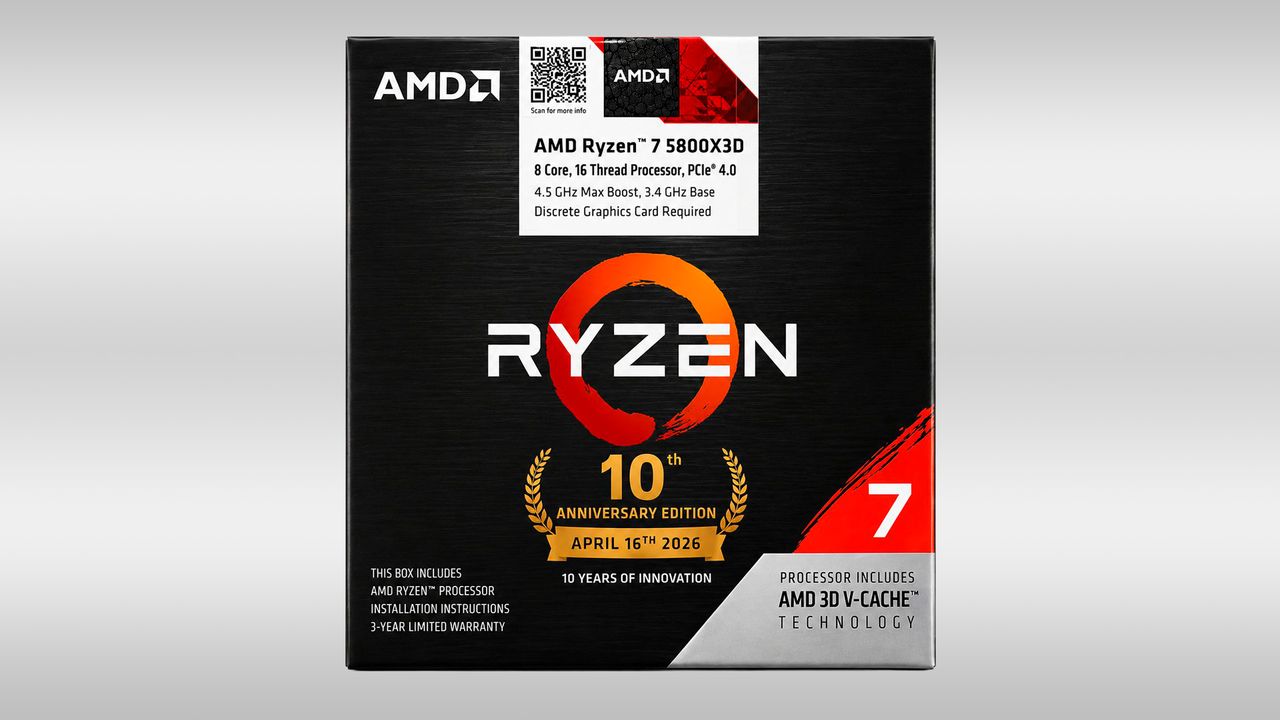
The AMD Ryzen 7 5800X3D was already a legend among gaming CPUs, and now its AM4 10th Anniversary Edition is making a quiet comeback. Listed recently by an Indian retailer for just $310, this processor offers an incredible price-to-performance ratio for budget-conscious builders. With 8 cores, 16 threads, and AMD’s 3D V‑Cache technology, it rivals many modern mid‑range chips while keeping the cost low.
This guide walks you through every step of assembling a complete gaming PC centered around this CPU. Whether you’re upgrading from an older AM4 system or building from scratch, you’ll learn how to choose compatible components, install everything correctly, and avoid common pitfalls—all while staying within a reasonable budget.
Prerequisites
Required Components
- CPU: AMD Ryzen 7 5800X3D AM4 10th Anniversary Edition (~$310)
- Motherboard: Any AM4 board with a B450, B550, or X570 chipset (ensure BIOS is updated for 5000‑series support)
- RAM: 16 GB (2×8 GB) DDR4‑3200 or 3600 MHz, CL16 or lower
- GPU: Mid‑range or high‑end card (e.g., RTX 3060 Ti, RX 6700 XT) – the CPU handles any modern GPU well
- Storage: NVMe M.2 SSD (e.g., 1 TB Gen 3 or Gen 4) for fast load times
- Power Supply: 650 W 80+ Gold rated (750 W recommended if using a high‑end GPU)
- Case: ATX mid‑tower with good airflow (e.g., Fractal Design Pop Air, Lian Li Lancool 215)
- CPU Cooler: At least a tower‑type air cooler like the Arctic Freezer 34 eSports Duo; the stock cooler is insufficient
Tools and Skills
- Phillips #2 screwdriver, a clean work surface, anti‑static wrist strap (optional)
- Basic computer assembly knowledge – if you’re a complete novice, follow the steps carefully
- Patience: first boot may require a BIOS update or memory training
Step‑by‑Step Instructions
1. Preparing the Workspace
Clear a large table, ground yourself by touching a metal object, and lay out all components in their boxes. Have your motherboard manual handy – you’ll reference it for header locations and screw standoff positions.
2. Installing the CPU
Place the motherboard on its anti‑static bag. Lift the CPU socket lever, align the golden triangle on the CPU with the triangle on the socket, and gently drop it in. Do not force it. Lower the lever – you should feel resistance. Apply a pea‑sized dot of thermal paste onto the center of the IHS if your cooler doesn’t come with pre‑applied paste.
3. Installing RAM
Open the DIMM slots on your motherboard (usually slots A2 and B2 for dual‑channel). Align the notch on the RAM stick with the slot key and press down evenly until both clips snap. For 5800X3D, 3200 MHz or 3600 MHz DDR4 is optimal.
4. Mounting the Motherboard
Install the I/O shield into the case first (push firmly until it clicks). Place the motherboard onto the standoffs – align the rear I/O with the shield. Screw in the motherboard screws starting from the center outward. Do not overtighten.
5. Installing Storage
Insert the NVMe SSD into the M.2 slot at a 30‑degree angle and press down until the retention screw clicks. Some motherboards have a heatsink – remove the protective film from the thermal pad before attaching.

6. Installing the Power Supply
Mount the PSU in the case’s PSU shroud (fan facing down if the case has a bottom mesh). Route the 24‑pin, 8‑pin CPU, and PCIe power cables through the nearest grommets before plugging them into the motherboard as you proceed.
7. Connecting Cables
Refer to your motherboard manual for the front panel header (power switch, reset, LEDs). Connect the CPU cooler fan to the CPU_FAN header. Attach case fans to SYS_FAN headers. Plug the 24‑pin and the two 4+4 pin CPU power connectors (if needed). Use cable ties to keep everything tidy.
8. GPU Installation
Remove the appropriate PCIe slot covers from the case. Gently push the GPU into the top PCIe x16 slot until the latch clicks. Secure it with screws. Connect PCIe power cables from the PSU.
9. First Boot & BIOS Setup
Connect monitor to the GPU, keyboard, mouse, and power cable. Press the power button – if nothing happens, double‑check the front panel header. Enter BIOS by pressing Del or F2. Enable XMP (DOCP) for RAM speed. Set the boot drive to your SSD. Save and exit. Install Windows from a USB drive.
Common Mistakes
- Forgetting a BIOS update: Many B450/X470 boards need a BIOS update to support the 5800X3D. If your board has BIOS Flashback, you can do it without a CPU.
- Using the stock cooler: The 5800X3D does not come with one. Using a cooler meant for lower‑TDP CPUs will cause throttling.
- Incorrect RAM installation: Putting both sticks in the same channel (e.g., A1&B1) halves memory bandwidth. Use slots A2&B2 for dual‑channel.
- GPU not fully seated: You may miss the click of the PCIe latch, causing no display. Reseat the GPU firmly.
- Over‑tightening the CPU cooler: Can warp the motherboard or cause memory instability. Follow the cooler’s torque instructions.
Summary
The AMD Ryzen 7 5800X3D AM4 10th Anniversary Edition at ~$310 gives budget builders access to elite gaming performance without breaking the bank. By carefully choosing a compatible AM4 motherboard, fast RAM, and a sufficient cooler, you can build a system that handles modern games with ease. Follow the steps above, avoid common mistakes like forgotten BIOS updates or improper RAM placement, and you’ll have a high‑performing, cost‑effective gaming rig ready to go.