Introduction
Ever wonder if there's a scientific way to perfect your morning cup? University of Oregon chemist Christopher Hendon thinks so. His research suggests that measuring the electrical properties of brewed coffee can reveal its flavor profile—without relying solely on taste buds. This guide translates that science into a practical, step-by-step method you can try at home. By passing a small electrical current through your coffee, you can gauge extraction yield and consistency, helping you replicate that perfect cup every time. Let's dive in.
What You Need
- Fresh coffee beans (any roast, but single origin preferred for clear results)
- Coffee grinder (burr grinder recommended for uniform grounds)
- Digital scale (accurate to 0.1g)
- Brewing device (e.g., espresso machine, pour-over, or French press)
- Filtered water (chlorine-free, at 195-205°F)
- Multimeter capable of measuring microamps (μA) and resistance (Ω)
- Two stainless steel or copper electrodes (clean, non-reactive)
- Small insulated container (e.g., ceramic mug or glass beaker)
- Wire leads with alligator clips
- Stopwatch or timer
Step-by-Step Instructions
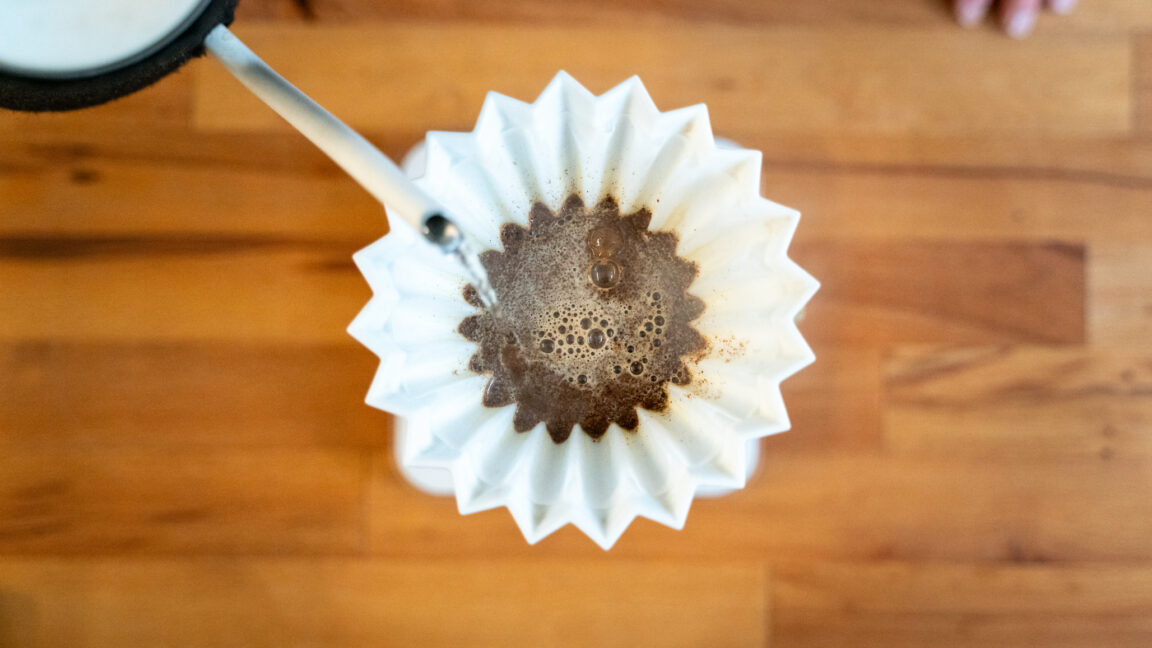
Step 1: Brew Your Coffee with Precision
Weigh 18g of coffee beans and grind them to a consistency appropriate for your brewing method. For espresso, aim for fine; for pour-over, medium. Use water at 200°F. Brew exactly as you normally would, but note your brew time and water volume. This controlled batch will serve as your baseline sample. The key is consistency—every variable (grind size, water temperature, pressure) affects extraction yield (EY), which electrical measurement will later detect.
Step 2: Prepare the Coffee Sample for Testing
Allow the freshly brewed coffee to cool to room temperature (about 68-75°F). Heat can skew electrical readings. Pour exactly 50ml into the insulated container. Ensure the liquid is homogeneous—stir gently if needed. Place the container on a stable, non-conductive surface away from drafts. This sample is now ready for electrode insertion.
Step 3: Set Up the Electrode Circuit
Attach the alligator clips to the ends of your two wire leads. Clip one lead to each electrode. Connect the other ends of the leads to the multimeter: one to the COM port, the other to the μA/mA port (depending on expected current). Set the multimeter to measure DC microamps (μA). Important: The current should be very low (under 100 μA) to avoid electrolysis and alteration of the coffee. Do not use high voltage.
Step 4: Insert Electrodes and Take the Measurement
Lower both electrodes into the coffee sample, ensuring they are completely submerged but not touching each other. Maintain a fixed distance of 1 cm between them (use a spacer if needed). Start your timer. Record the current reading on the multimeter after 10 seconds of stabilization. Also measure the resistance (Ω) by switching the multimeter to resistance mode—do this quickly to prevent temperature changes. Repeat the measurement three times, stirring between each, and average the results.
Step 5: Interpret the Data
Higher current (lower resistance) generally indicates higher ion concentration—which correlates with higher extraction yield and often a stronger, more bitter flavor. Lower current (higher resistance) suggests under-extraction, leading to sour or thin coffee. Compare your readings to a known reference cup (e.g., a shop-bought espresso). Note: Your multimeter values alone don't give a flavor profile, but relative changes between batches reveal consistency. For deeper analysis, plot current against brew parameters (temperature, grind size) over multiple tests.
Step 6: Adjust Your Brew to Target Flavor
If the current is too high (over-extracted), reduce brew time or grind coarser. If too low (under-extracted), increase brew time or grind finer. Make one change at a time and repeat Steps 1-5. Keep a log of your settings and electrical readings. With practice, you'll correlate a specific μA range with your ideal taste. This method mirrors Hendon's research but at home scale—using electrical current as a proxy for dissolved solids.
Tips for Best Results
- Cleanliness matters: Residue from previous measurements can alter conductivity. Rinse electrodes and container with distilled water between tests.
- Temperature control: Always cool samples to the same temperature. A difference of just 5°F can change readings by 5-10%.
- Electrode material: Avoid copper if your coffee is acidic; use stainless steel to avoid metallic taste or corrosion.
- Deep dive: For advanced users, calculate the extraction yield using a formula: EY% = (current × time × constant) / (mass of coffee). The constant depends on your setup—calibrate with a professional refractometer once.
- Patience: Expect initial variability. Document everything, including humidity and water mineral content. Over time, you'll build a personal flavor-electrical map.
Remember: This method is a tool, not a replacement for your palate. Use electrical readings as consistent feedback to refine your technique. As Hendon's team notes, reproducibility is the holy grail—and now you have a new metric to achieve it. Start at Step 1 and enjoy your experiment!